Medium 替代方案 ? 用 Hexo 搭配 GitHub Pages 寫文章
前言
工作滿一年,決定做一些生活紀錄。本來以為寫文章需要自己架 server ,然後每月付點錢,後來發現 Github pages 可以直接 host,而且還免費,真的太佛 !! 參考網路文章,有看到三種蠻常見的工具,分別是: Jekyll、Hexo、Hugo,後來我選擇 Hexo。
為甚麼選擇 Hexo?
- Hexo 是用 Node.js 開發的: js 語法我相對熟悉。
- 官方文件大部分都是中文的,上手比較快速。
- 支援 Markdown 語法: 插入程式碼相對友善。
- 有很多好看的主題,拯救美感欠佳的人 😁
Hexo 基本設定
基本步驟
- 安裝 Hexo:
npm install -g hexo-cli - 建立自己的專案:
hexo init my-blog,my-blog 為專案名稱,可任意取。 - 切換 ( cd )到自己專案,安裝 Hexo 所需套件:
npm install - 啟動 Hexo:
hexo server初始設定,會有一個預設主題,跟一篇貼文 ( hello-world.md ),後續可以再更換。
啟動 server 前可以先清掉快取,不然有些設定 ( 如 tags ) 無法即時更新:
hexo clean或是每次要預覽畫面時,直接輸入:
hexo clean && hexo serverHexo 預設端口 port 是 4000 ⇒ http://localhost:4000

- 安裝 Hexo:
專案架構
架構樹狀圖
1
2
3
4
5
6
├── _config.yml
├── package.json
├── scaffolds
├── source
| └── _posts
└── themes設定檔: _config.yaml,很多設定可以在此更改。
更改首頁文字:
#Site區塊_config.yaml 1
2
3
4
5
6
7
8# Site
title: 程式與生活雜技
subtitle: ''
description: 為自己的歷程留下紀錄
keywords:
author: David
language: zh-TW
timezone: ''預設文章模板 ( default_layout ) :
#Writing區塊,預設是用 scaffolds/post.md 中的架構。scaffolds 中文是鷹架的意思,就是每新增一篇文章,預設的文章架構。_config.yaml 1
2
3# Writing
new_post_name: :title.md # File name of new posts
default_layout: post更改主題:
#Extision區塊,這邊是使用 butterfly 主題。_config.yaml 1
2
3
4# Extensions
## Plugins: https://hexo.io/plugins/
## Themes: https://hexo.io/themes/
theme: butterfly部屬:
#Deployment區塊_config.yaml 1
2
3
4
5
6
7# Deployment
## Docs: https://hexo.io/docs/one-command-deployment
deploy:
type: 'git'
repo: git@github.com:<username>/<username>.github.io.git
branch: main
message: commit message
如何套用主題?
決定使用 butterfly,因為有多人維護,有問題可能修比較快。
可以參考 butterfly 主題的 官方教學 文章
Hexo 也有很多其他主題可以參考: https://hexo.io/themes/
安裝 butterfly 主題:
npm i hexo-theme-butterfly安裝 butterfly 所需套件:
npm install hexo-renderer-pug hexo-renderer-stylus --save修改 _config.yaml 檔: theme 改成 butterfly
_config.yaml 1
2
3
4# Extensions
## Plugins: https://hexo.io/plugins/
## Themes: https://hexo.io/themes/
theme: butterfly
建立一個
_config.butteryfly.yaml官方建議建立: 未來套件升級,較不受影響
之後可以直接在 _config.butteryfly.yaml 更改設定,也相對比較方便
未來 _config.butteryfly.yaml 改壞了,還可以回溯原始設定
從 butterfly 主題中複製 _config.yaml,路徑: node_modules/hexo_theme_butterfly/_config.yaml
注意: 是主題的 _config.yaml 而非 hexo 的
Hexo 會自動合併主題中的
_config.yml和_config.butterfly.yml裡的配置。如果存在同名配置,會使用_config.butterfly.yml的配置,其優先度較高。所以專案架構就會變成:
1
2
3
4
5├── _config.yml
├── _config.butterfly.yml
├── scaffolds
└── source
└── _posts
如何新增一篇文章 ( post ) ?
參考 官網 教學文章
指令:
hexo new post <文章名稱>新的文章會被建立在 source/_post 底下,架構如下
1
2
3
4
5├── source
| └── _posts
| └── _hello_world.md
| └── 使用 Hexo 及 GitHub 開始寫部落格.md
└── themes編輯文章: 新的文章會根據預設 scaffolds/post.md,新增文章的設定檔,如下:
使用 Hexo 及 GitHub 開始寫部落格.md 1
2
3
4
title: 使用 Hexo 及 GitHub 開始寫部落格
date: 2024/04/06 17:42:12---包夾的區塊是 font-matter,主要是文章的設定檔: 參考 官網 文章教學。- 設定文章封面圖: cover 參數
- 文章列表縮圖: top_img 參數
插入圖片方式
可以用 webp 格式,較省空間。
在 source/_posts 資料夾新增一個跟文章一樣的名稱的資料夾。
圖片直接放進文章資料夾,可直接用「圖片名稱.副檔名」插入圖片。
插入文章封面縮圖: cover.webp
插入文章置頂圖: /images/shared/tech.webp
_config.yaml 1
2
3
4
5
6
title: 使用 Hexo 及 GitHub 開始寫部落格
date: 2024/04/06 17:42:12
cover: cover.webp
top_img: /images/shared/tech.webp一般圖片會在 images 資料夾中,架構如下:
1
2
3
4
5
6
7
8
9
10├── source
| ├── _drafts
| └── _posts
| ├── 使用 Hexo 及 GitHub 開始寫部落格
| | └── cover.webp
| ├── _hello_world.md
| └── 使用 Hexo 及 GitHub 開始寫部落格.md
└── images
└── shared
└── tech.webp
如果要在
hexo new post <post title>,直接新增文章資料夾於 source/_posts 底下,可以更改 _config.yaml 中的#Writing區塊,把 post_asset_folder 改成 true。參考 官網教學 文章:
_config.yaml 1
2
3
4# Writing
new_post_name: :title.md # File name of new posts
default_layout: post
post_asset_folder: true
新增文章標籤 ( tags ) 和分類 ( categories )
於文章 font-matter 加入 categories 跟 tags 的選項。
使用 Hexo 及 GitHub 開始寫部落格.md 1
2
3
4
5
6
7
8
9
10---
title: 使用 Hexo 及 GitHub 開始寫部落格
date: 2024/04/06 17:42:12
categories: 部落格
tags:
- hexo
- GitHub
cover: cover.webp
top_img: /images/shared/tech.webp
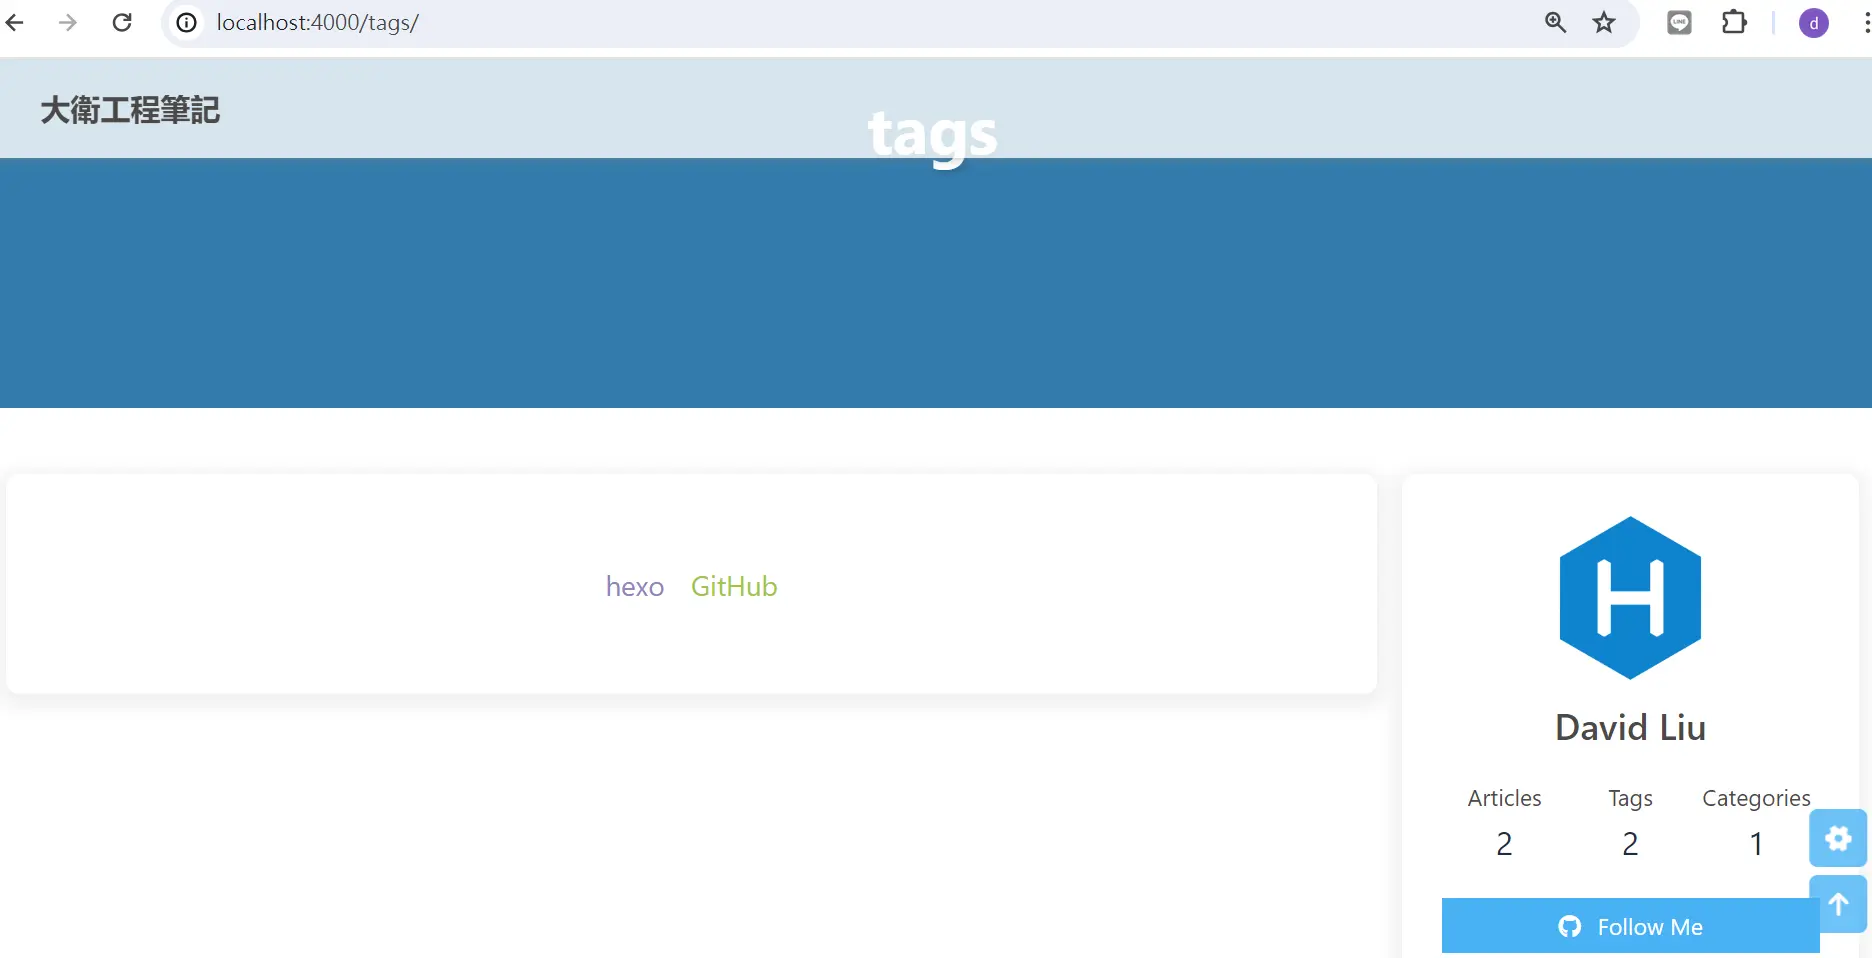
---預覽效果:
注意: 重啟 server 時,記得要先清快取,不然 tag 會無限增生 😨,指令:
hexo clean && hexo server
新增一個頁面 ( pages)
可以想像成新增一個 endpoint
架構如下:
1
2
3
4
5
6└── source
├── _posts
├── about
├── categories
└── tags
└── index.md新增 tags 指令:
hexo new page tags連接 Hexo 資訊,每個標籤會產生超連結,需在 tags/index.md 新增 type: “tags”。
index.md 1
2
3
4
5---
title: tags
date: 2024-04-08 20:56:20
type: "tags"
---
新增 categories 指令:
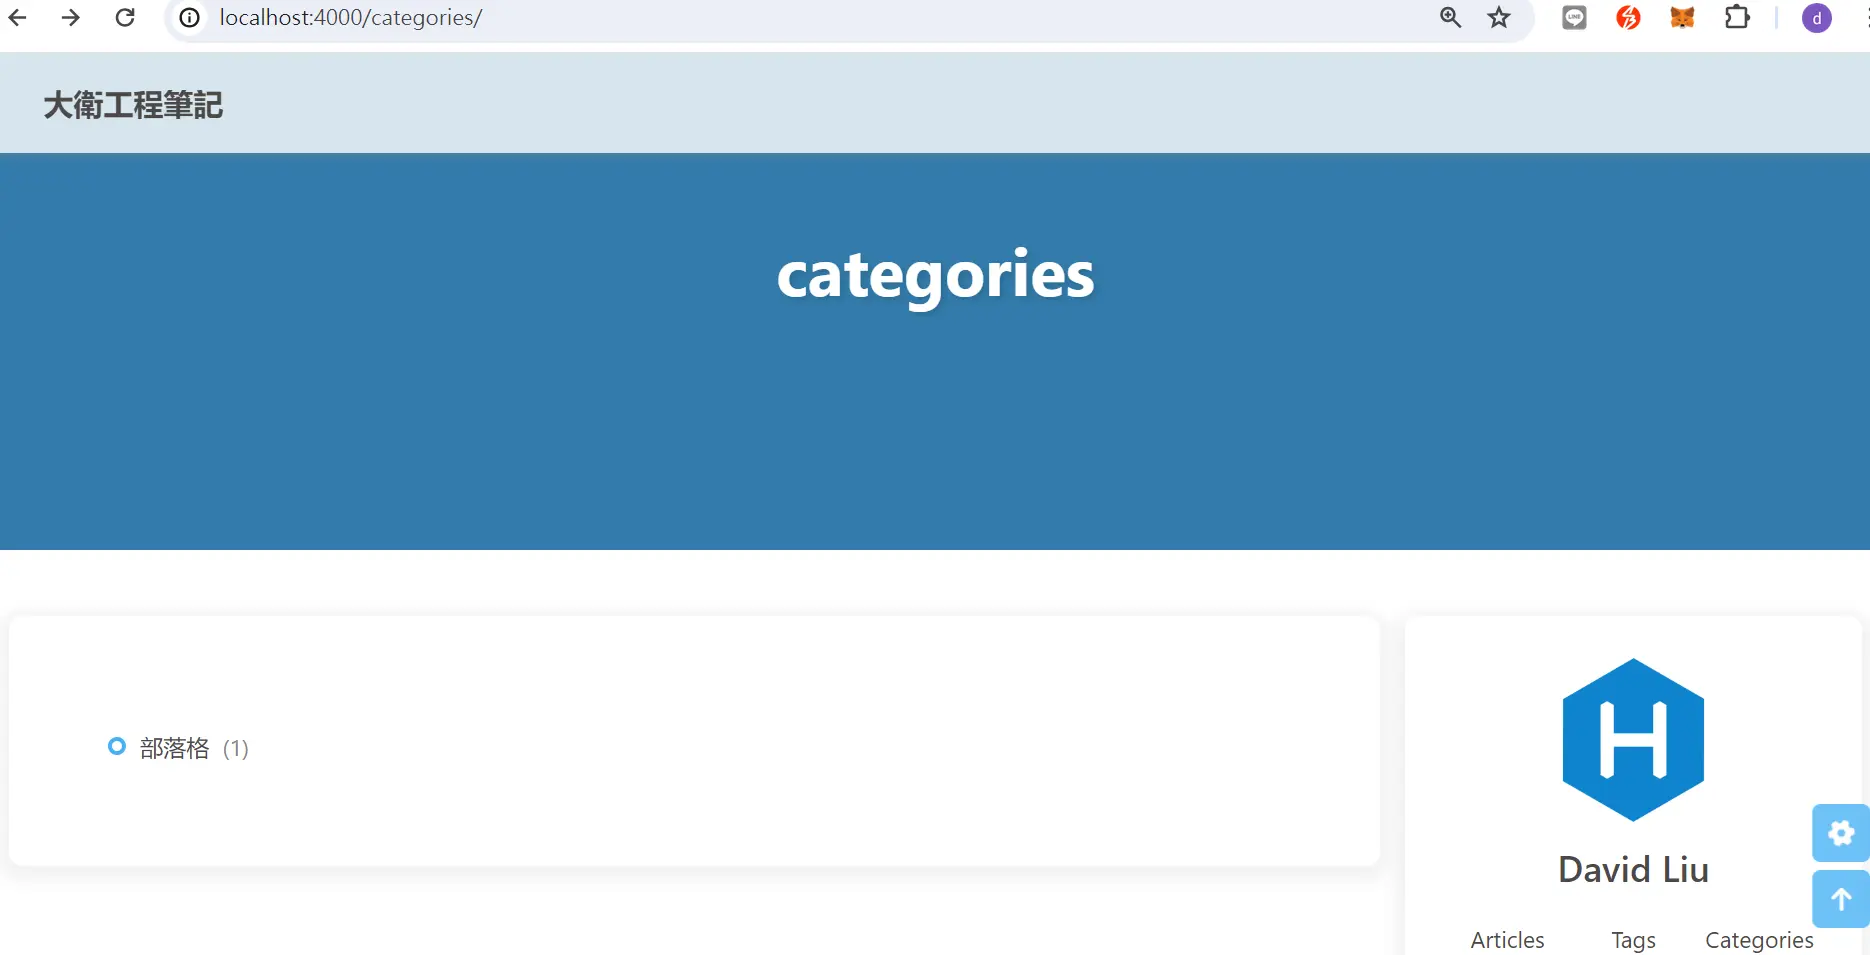
hexo new page categories連接 Hexo 資訊,每個標籤會產生超連結,需在 categories/index.md 新增 type: “categories”。
index.md 1
2
3
4
5---
title: categories
date: 2024-05-05 19:04:23
type: 'categories'
---網址: http://localhost:4000/categories
新增 about 指令:
hexo new page about,做法同上。
Sytax Highlighting
就是調整 code block 的樣式
可在 _config.yaml
#Writing區塊編輯_config.yaml 1
2
3
4
5
6
7#Writing
highlight:
line_number: true
auto_detect: false
tab_replace: ''
wrap: true
hljs: falseline_number: 程式區塊是否要數字,設定 true 效果如下:

wrap: code 的包裹器,設定 true 才會顯示「複製」跟「伸縮箭頭」,設定 false,效果如下:

markdown 語法: 用 code block 方式,可以加註記,如註記檔案名稱,backtick
```不行。參考: https://hexo.io/zh-tw/docs/syntax-highlight
1
2
3
4
5
6
7
8
9
10{% codeblock lang:javascript package.json %}
{
"scripts": {
"build": "hexo generate",
"clean": "hexo clean",
"deploy": "hexo deploy",
"server": "hexo server"
},
}
{% endcodeblock %}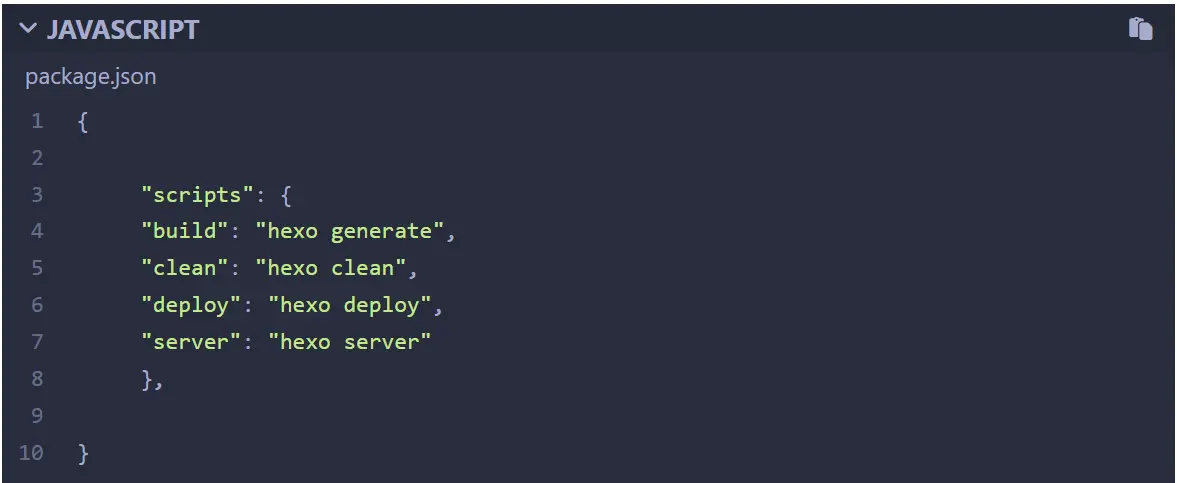
若使用 butterfly 主題, code block 樣式也會受 _config.butteryfly.yaml 影響,可以自行玩玩看。
_config.butteryfly.yaml 1
2
3
4
5
6
7
8
9# Code Blocks (代碼相關)
# --------------------------------------
highlight_theme: pale night # darker / pale night / light / ocean / mac / mac light / false
highlight_copy: true # copy button
highlight_lang: true # show the code language
highlight_shrink: false # true: shrink the code blocks / false: expand the code blocks | none: expand code blocks and hide the button
highlight_height_limit: false # unit: px
code_word_wrap: false自訂 code block css 樣式:
參考教學文章: https://butterfly.js.org/posts/b37b5fe3/#配置hljs為true
css 樣式可參考: https://highlightjs.org/
_config.yaml 中的 hljs 設定為 true
_config.butterfly.yaml 中的 highlight_theme 設定為 false
_config.butterfly.yaml 中的
#Inject區塊,貼上 css 的相對路徑。_config.butteryfly.yaml 1
2
3
4
5
6
7# Inject
# Insert the code to head (before '</head>' tag) and the bottom (before '</body>' tag)
inject:
head:
<link rel="stylesheet" href="/self/david.css">
bottom:
# - <script src="xxxx"></script>self 資料夾名稱不限,與 tags, categories 同一個層級。
1
2
3
4
5
6
7└── source
├── _posts
├── about
├── tags
├── categories
└── self
└──david.css
部屬
- hexo 的一鍵部屬是將 public 資料夾 的檔案,推上 GitHub。之後會打算用 GitHub Actions 做 CICD ( 點這邊看 ),並結合一般 git commit/push 的流程,較符合版本控制的流程。
安裝 hexo 部屬套件:
npm install hexo-deployer-git --save建立 repo: 名稱是 <github user name>.github.io

commit message 可在 _config.yaml 更改,type 改成 git。如果 message 留空的話,預設是時間。
1
2
3
4
5
6
7
8# Deployment
## Docs: https://hexo.io/docs/one-command-deployment
deploy:
type: 'git'
repo: git@github.com:<github user name>/<github user name>.github.io.git
branch: main
message:
一鍵部屬:
hexo clean && hexo deploy,記得要 hexo clean,清除快取。