Hexo 搭配 GitHub Actions 實現「真」自動化整合與部屬 CI/CD
前言
在 第一篇文章 中有提到 hexo 的一鍵部屬非常方便,基本上就是 hexo clean && hexo deploy 就好了。但是,我發現了一個很致命的問題,就是很難做版本控制。因為 hexo 的部屬是把靜態檔推上 GitHub。雖然很方便,但是版本控制起來很痛苦,只能看到一堆 html 的修改,但不知道自己到底改了甚麼 😥。
Hexo 如何部屬靜態檔
如果還不知道 hexo 怎麼產生靜態檔的,可以輸入 hexo generate,可以觀察到靜態檔會存在 public 的資料夾。當你準備部屬的時候,輸入 hexo deploy,會把 public 資料夾的內容推上 github,並非專案原始檔。
自動化整合與部屬運作邏輯
- 新建一個 private 的原始碼專案 ( 以下稱 my-blog ),讓「原始碼專案 ( my-blog )」自動部屬更新「靜態檔專案 ( github.io )」,兩專案間的的溝通需要靠公鑰跟私鑰。
- 如果不在意專案原始碼是否公開,可以在靜態檔專案開另一個 branch 存原始檔專案。
- 設定 GitHub Actions workflow,把程式碼變動推上「原始碼」專案,透過 merge code 觸發
hexo deploy,自動部屬整合至「靜態檔」專案。
實作
新建一個 repository ( my-blog ),並設定為 private。
把本地端專案程式碼 push 上去
1
2
3
4
5
git init
git add --all
git commit -m "First commit"
git remote add origin https://github.com/你的 github 帳號/新專案名稱.git
git push -u origin master建立 private/ public key
- 指令:
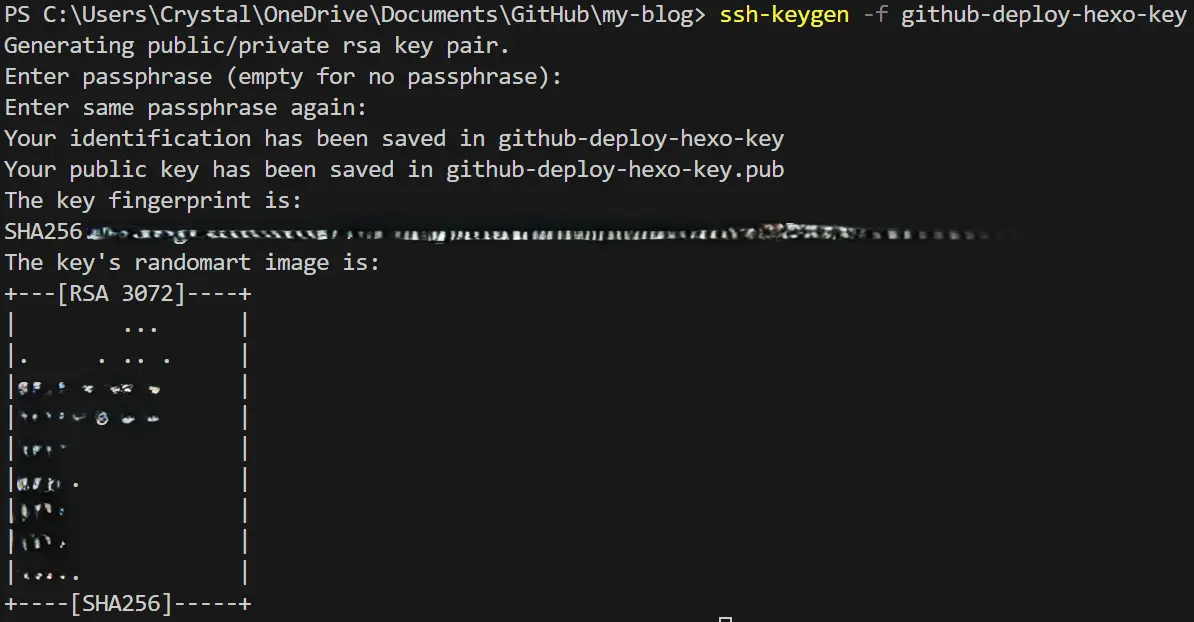
ssh-keygen -f github-deploy-hexo-key不用設定密碼,直接按三次 enter
在專案底下就會出現 github-deploy-hexo-key ( 私鑰 ) 跟 github-deploy-hexo-key.pub ( 公鑰 ) 這兩個檔案。
上傳 private/ public key 到 GitHub
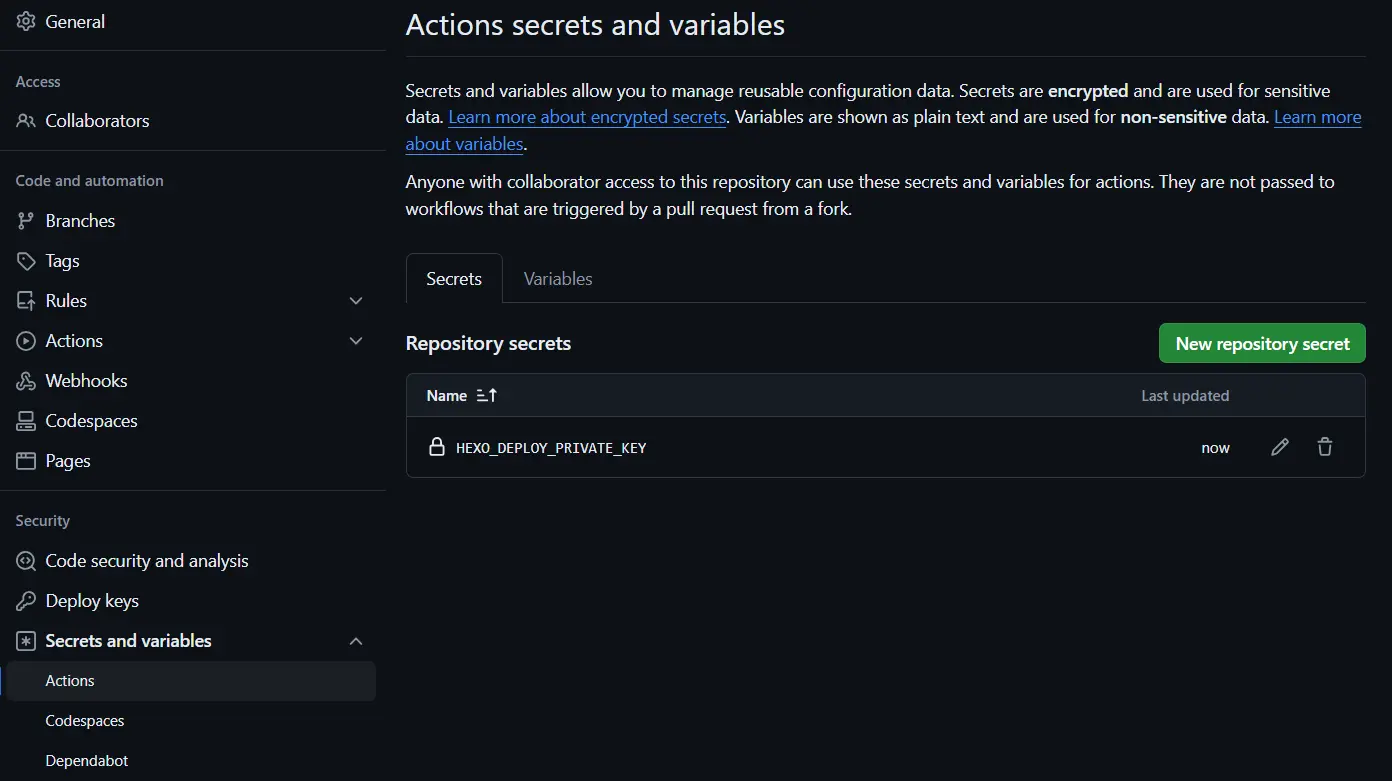
原始碼專案 ( my-blog ) 新增 actions/secrets,把 private key 存到原始碼專案中。
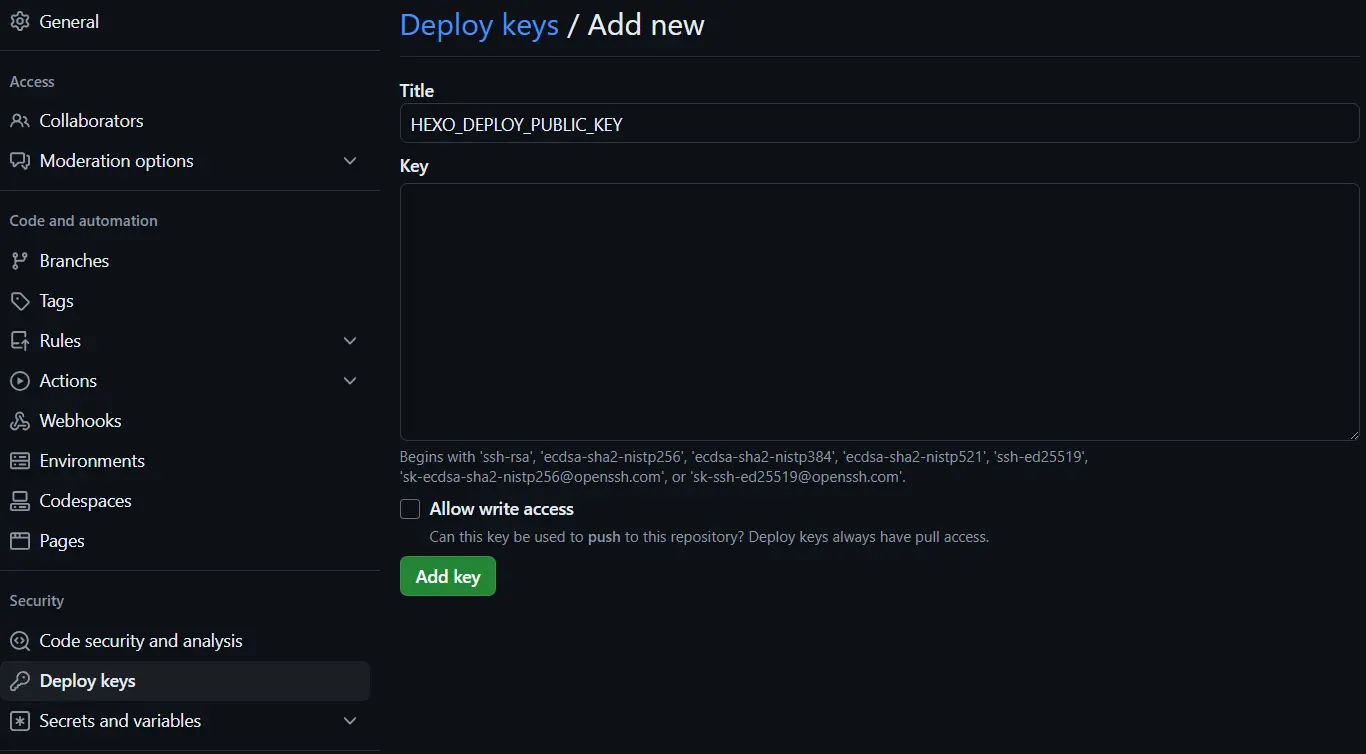
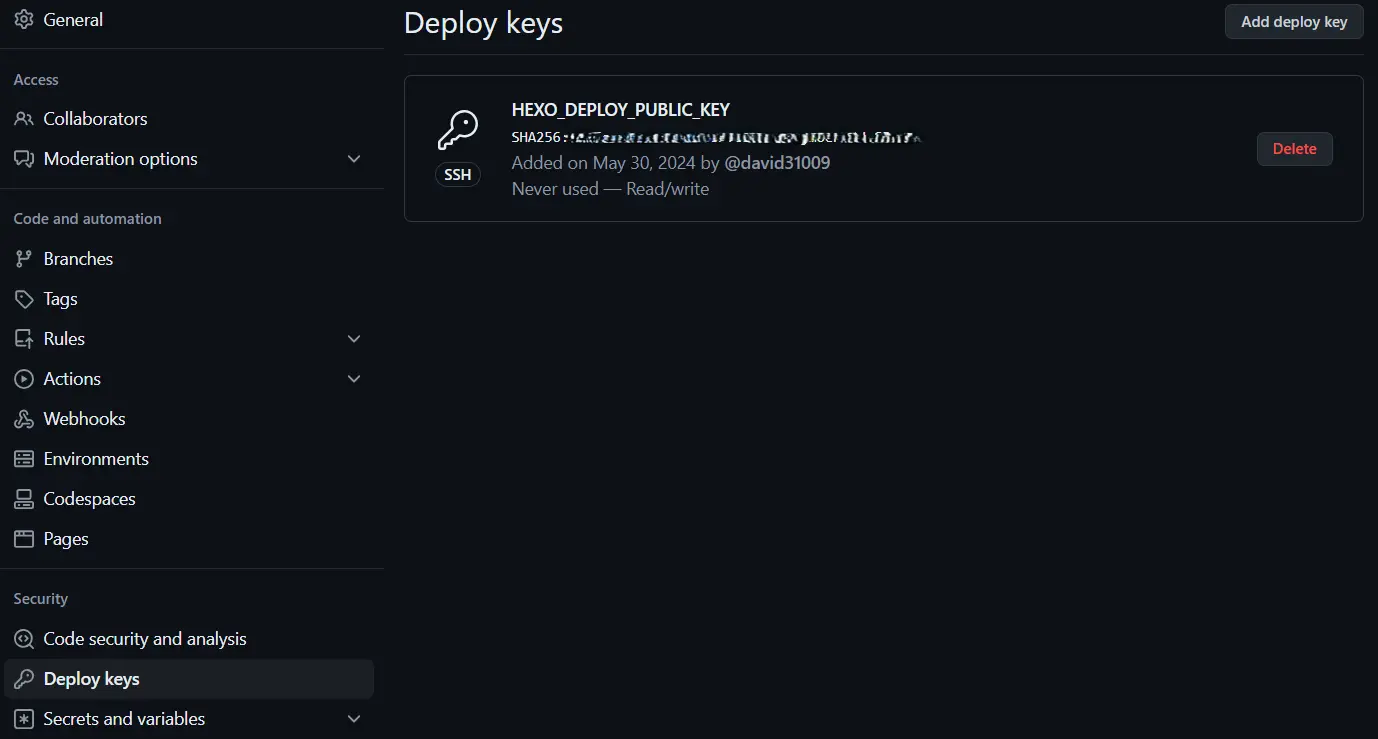
靜態檔專案 ( github.io ) 新增 deploy key,把 public key 存到靜態檔專案中,勾選 allow write access
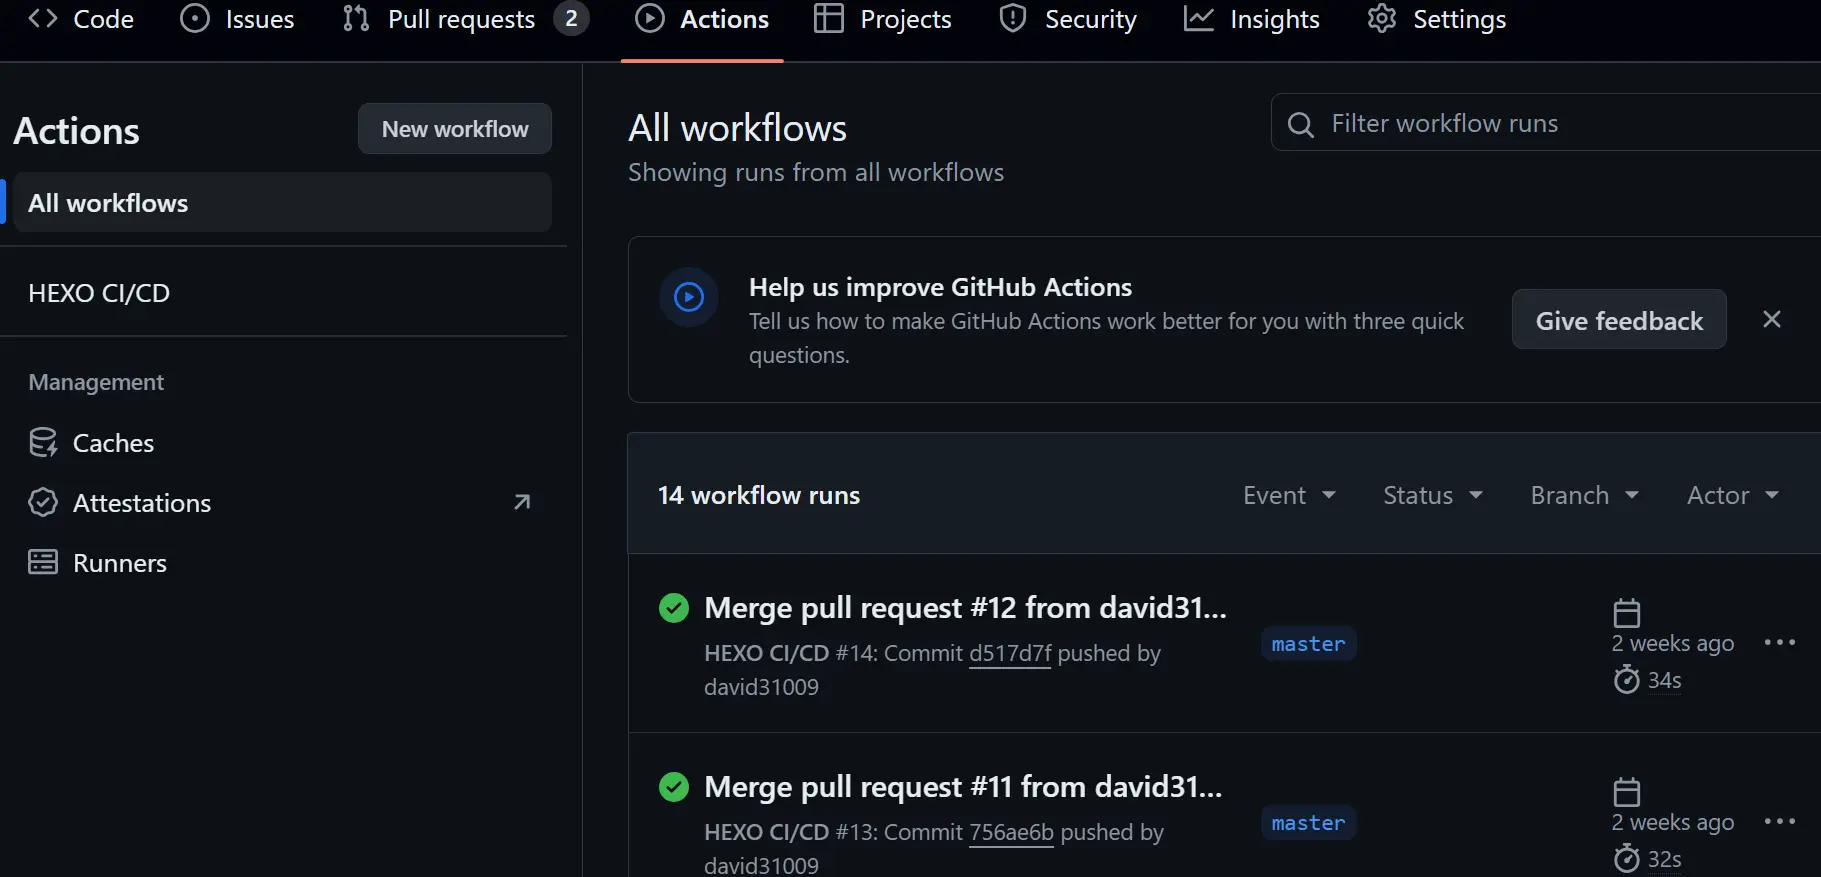
在原始碼專案點擊 Actions,新增 flow,新增 main.yaml
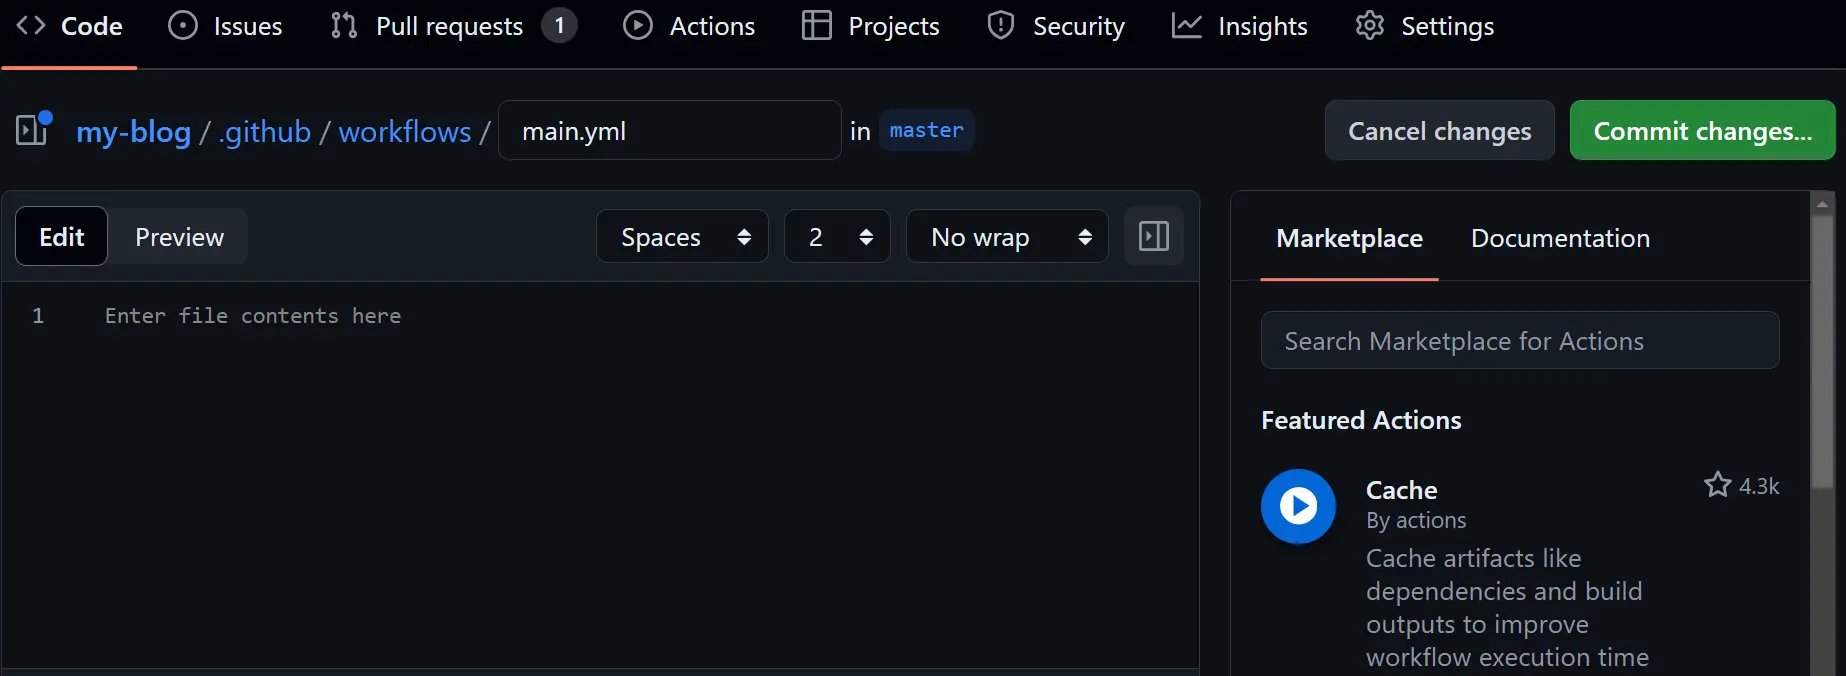
main.yaml 如下:
main.yaml 1
2
3
4
5
6
7
8
9
10
11
12
13
14
15
16
17
18
19
20
21
22
23
24
25
26
27
28
29
30
31
32
33
34
35
36
37
38
39
40
41
42name: HEXO CI/CD
on:
push:
branches:
- master
jobs:
build:
runs-on: ubuntu-latest
strategy:
matrix:
node-version: [18.x]
steps:
- name: Checkout repository
uses: actions/checkout@v4
- name: Use Node.js ${{ matrix.node-version }}
uses: actions/setup-node@v4
with:
node-version: ${{ matrix.node-version }}
- name: Setup private and public key
env:
HEXO_DEPLOY_PRIVATE_KEY: ${{ secrets.HEXO_DEPLOY_PRIVATE_KEY }}
run: |
mkdir -p ~/.ssh/
echo "$HEXO_DEPLOY_PRIVATE_KEY" | tr -d '\r' > ~/.ssh/id_rsa
chmod 600 ~/.ssh/id_rsa
ssh-keyscan github.com >> ~/.ssh/known_hosts
git config --global user.name "xxxx"
git config --global user.email "xxxx@gmail.com"
- name: Install dependencies
run: |
npm install -g hexo-cli
npm install
- name: Deploy to hexo github.io
run: |
hexo clean && hexo generate && hexo deploy
在原始檔專案 ( my-blog ) develop 分支推 PR,接著 PR 被 merged 後才會觸發 GitHub actions 的 CI/CD,實現自動化整合與部屬。